Layer masks are used to create such techniques as the popular “peekaboo” cutout or to hide the edges of photos. Take a look at the following screenshots and see what I mean…


Here's my final product. I mixed it up a little bit by erasing part of the red paper so that the blue star paper came through on two of the stars. The sky's the limit when your digi-scrapping!

_________________________________________________________________________________________________________________________________________________________________________
Photo masks (or clipping masks) are typically black or grayscale shapes that you place on a layout and clip your photo down. They can be used to add a unique shape to your photo, add words to help tell your story or create a funky border. Still confused? Check out A Mask A Day, vol. 1 by Trixie.

To use these or something similar, first you need to drag your mask onto your layout. Next, place your photo on a layer above the mask and clip down (I like to use the ctrl-alt-g shortcut). Finally, make any adjustments to your photo, such as resizing or moving within the mask, before you flatten the two together. Voila! You have a photo that helps to give your page a little more punch. Again, here are a couple of screen shots to help out you visual learners!


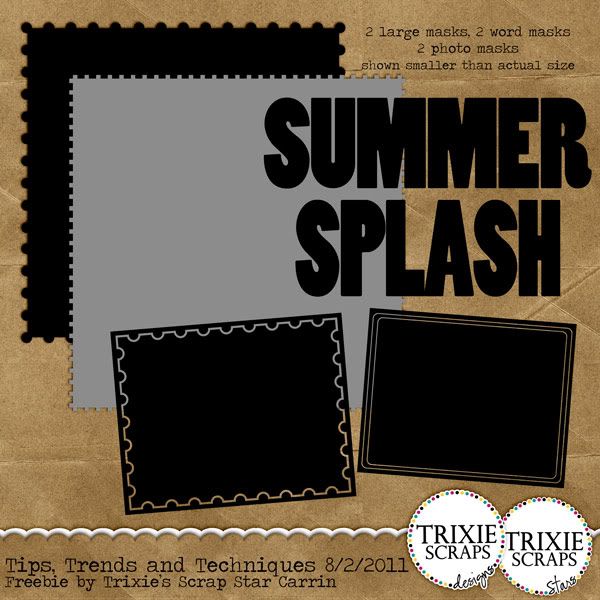
Now, are you ready for a little surprise? I’ve made a special gift for you for joining me today…a set of your very own masks! I’ve included a couple different options for you: a couple of large masks that you can use to create layered background papers, a couple of big word masks that you can use on a photo or a paper to make a cool title, and two rectangular photo masks (or you could use them for photo mats with paper). I hope you enjoy them and make sure you stop on over to the Trixie Scraps Gallery and share what you’ve made!

All Trixie Scraps Designs products can be found in the following online stores:
Trixie Scraps Shop * Gotta Pixel * Scrapbook Bytes * Funky Playground
Thank you so much for this post. I want to let you know that I posted a link to your blog in CBH Digital Scrapbooking Freebies, under the Page 9 post on Aug. 02, 2011. Thanks again.
ReplyDeleteThank you so much for this post. I want to let you know that I posted a link to your blog in CBH Digital Scrapbooking Freebies, under the Page 10 post on Aug. 02, 2011. Thanks again.
ReplyDeletethanks so much for the tut and freebie!!! I've also let readers know about it at Scrappy Trends, and can come to your blog to find out more.
ReplyDeleteThanks so much!
ReplyDeletethanks so much Carrin.......the Tut is easy to understand and i'm off to give it a go now!
ReplyDeletexx kel
really nice tutorial, but I was wondering if maybe you could have a tutorial where you show us how to make a fancy looking mask, not just a simple word or shape. I've been looking around on the internet, but could not find a tut about it, those are mostly for sale. thank you:)
ReplyDeleteHi Mariana and thanks for your comment! The type of tutorial you are asking for is really more of a "designer" lesson than a scrapbooker's tutorial. My blog is structured to provide tutorials for scrapbookers, not for designers.
ReplyDeleteI would suggest doing a Google search for "designing clipping masks" or something like that to see what you can find. If we ever start offering tips for designers, I will be sure to keep your request in mind ;)
Tracy, Trixie Scraps
Thank you so much!
ReplyDeleteThanks so much for sharing!
ReplyDeleteThank you so much for these mask freebie. I appreciate your hard work and kindness in sharing with us
ReplyDeleteRegards
Helen from England